Need Help? Let Me Know!
#1
 06-30-2010, 02:30 PM


Anyone looking for help installing or diagnosing audio, computers and so on let me know. I live in Bridgeton NJ 08302. I will travel up to 3 hours for someone who wants to learn or needs help. Let me know Pm me your aim or yahoo messenger screen name. If you want to contact me faster just send a email at reimermatt@gmail.com

#3
06-30-2010, 02:32 PM

#4
06-30-2010, 02:33 PM
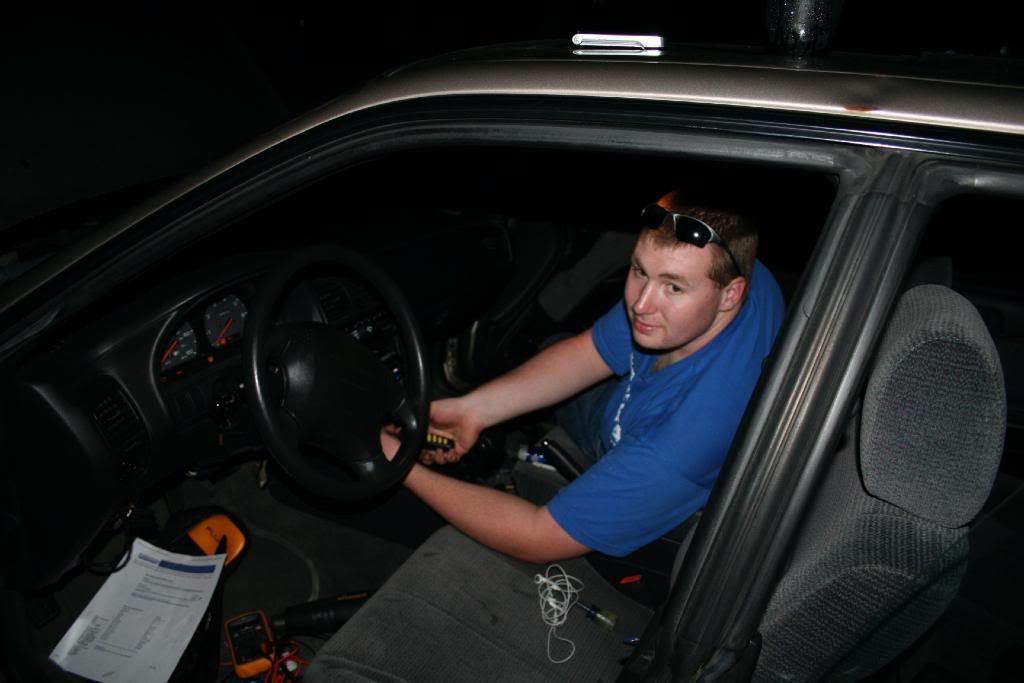
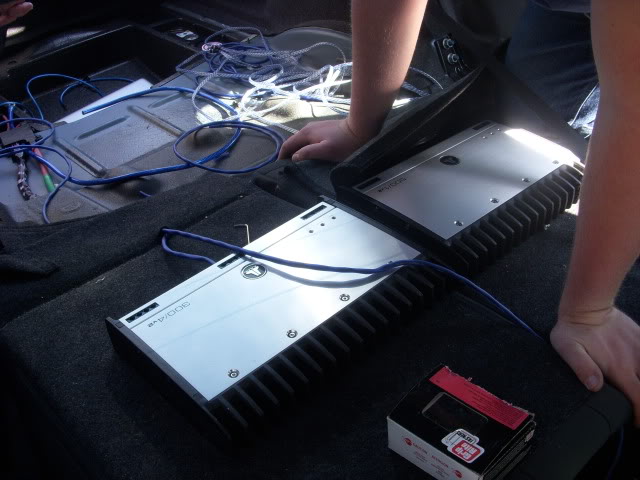
So I did a reinstall on a system. Had a lot to do Enjoy!
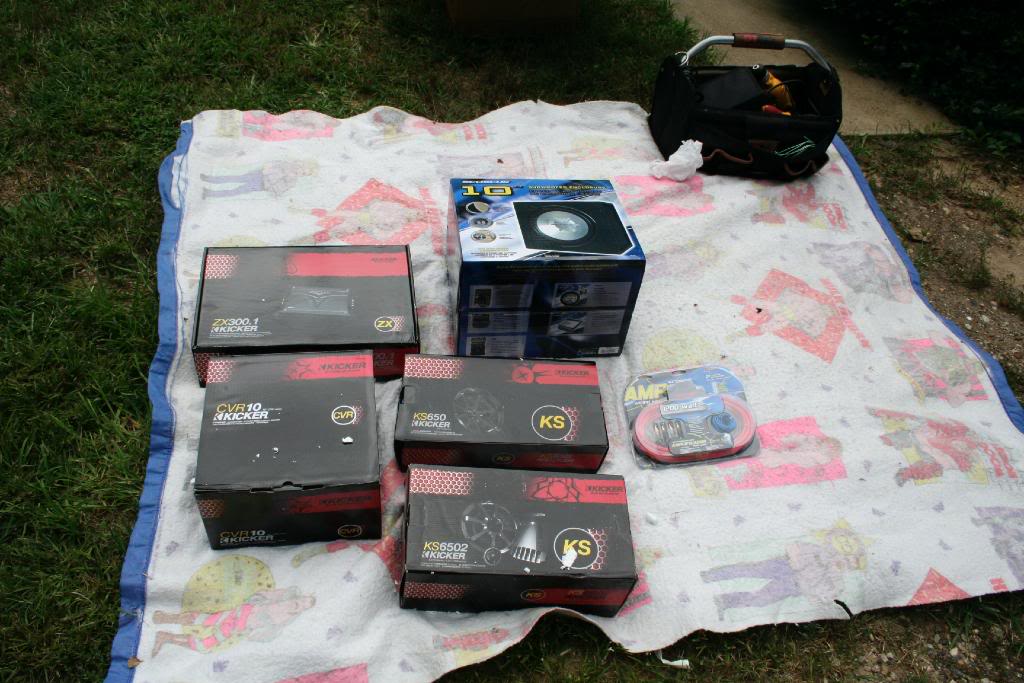
The Goods
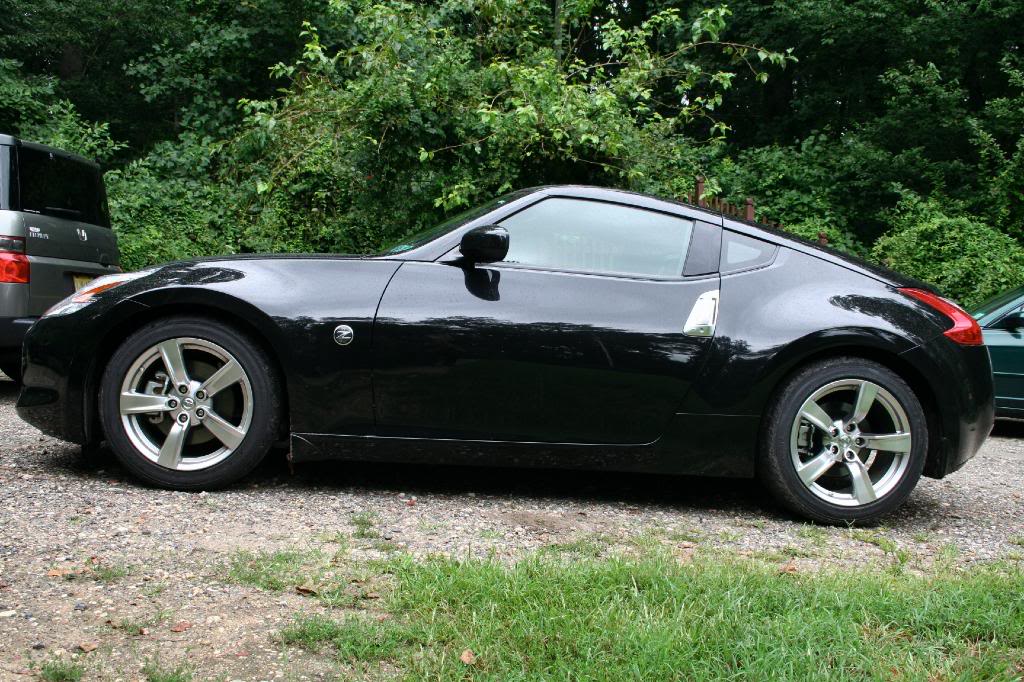
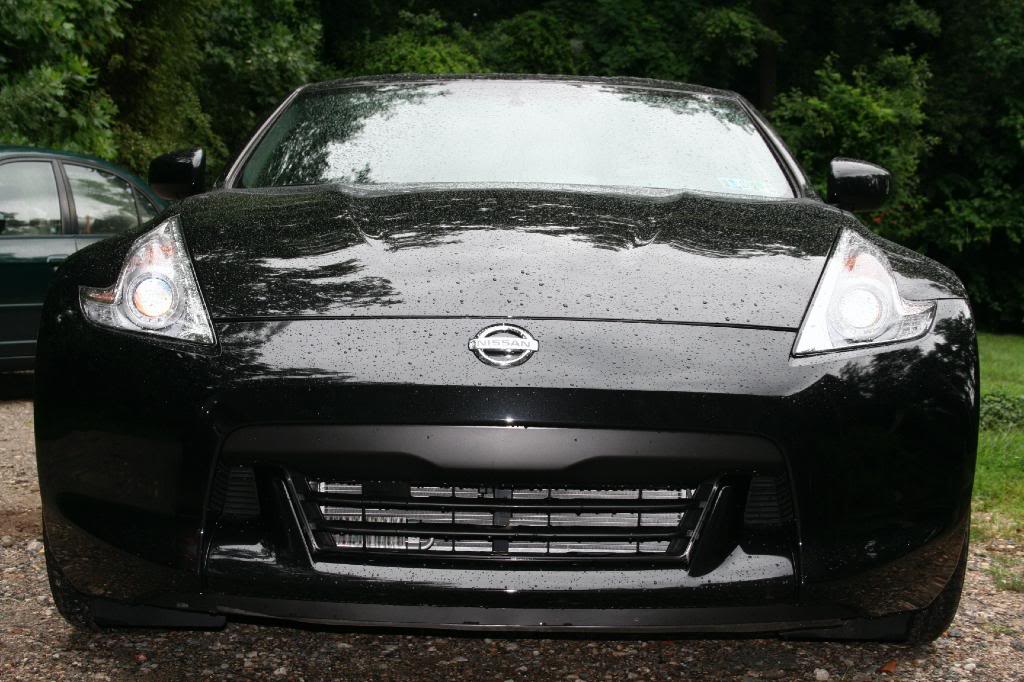
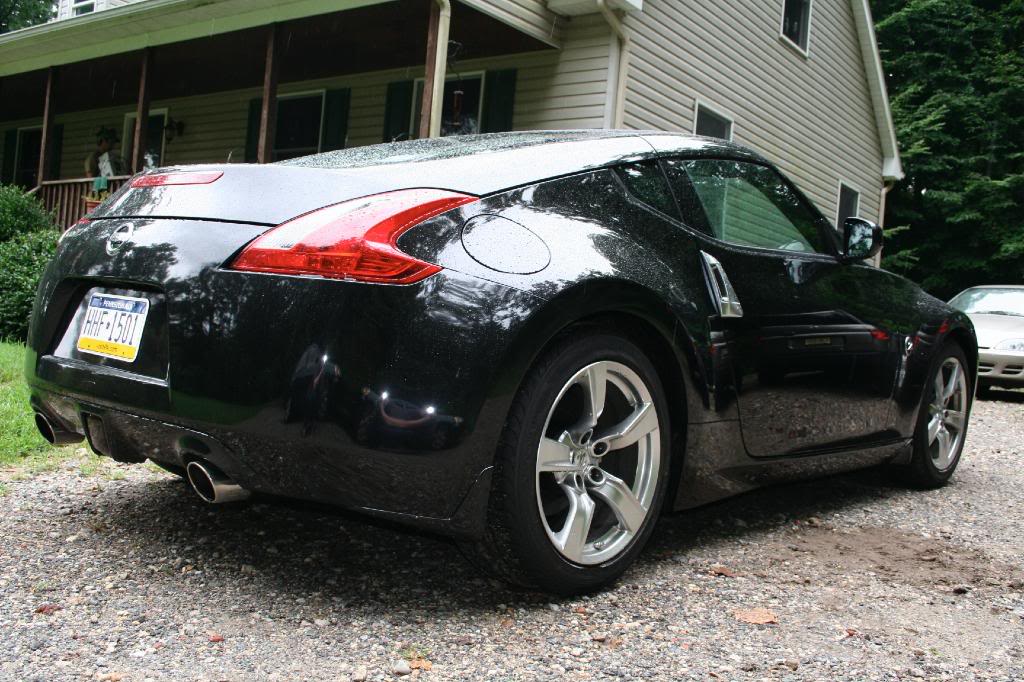
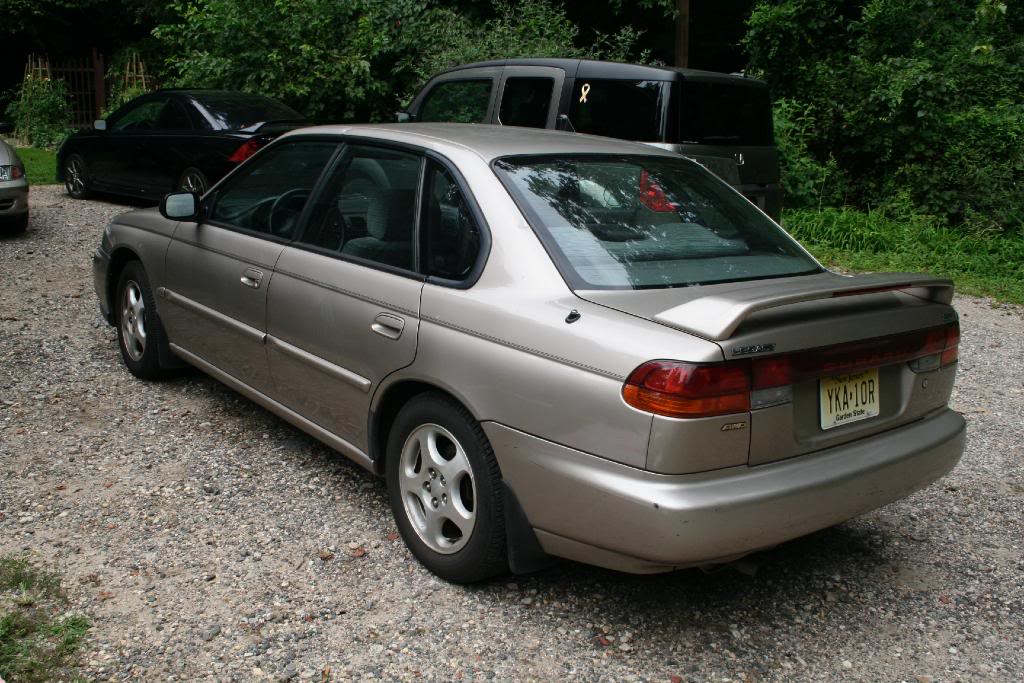
The Ride
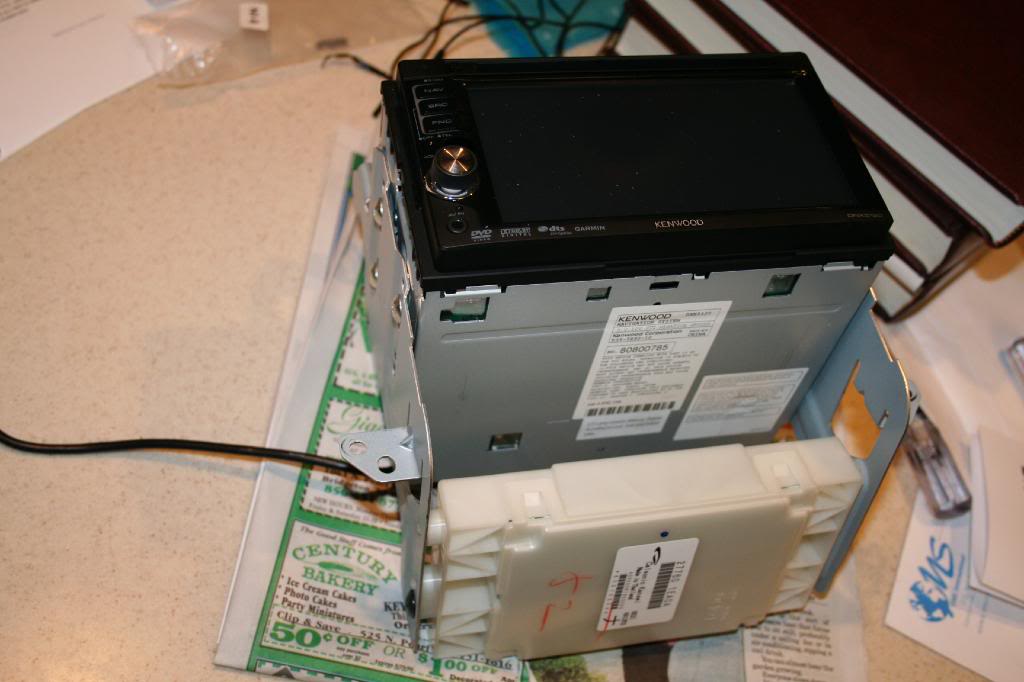
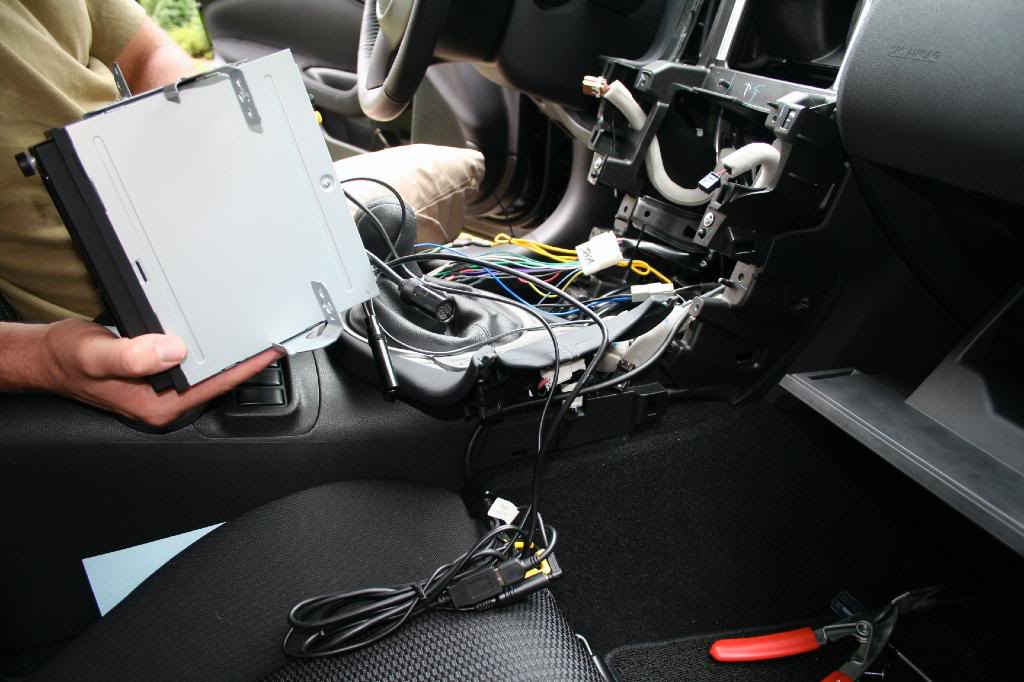
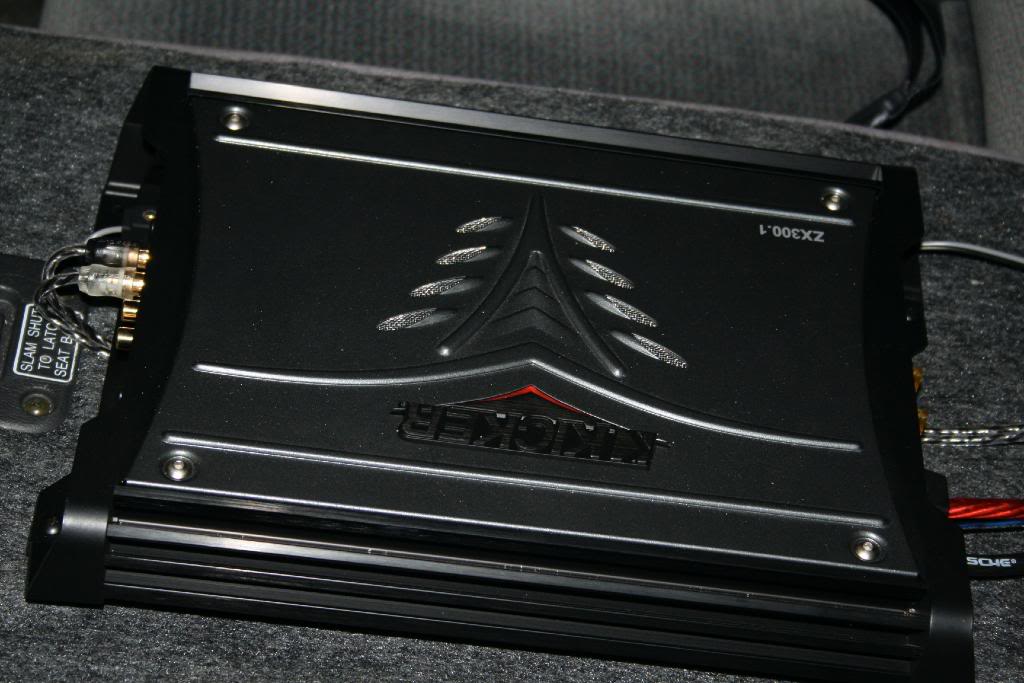
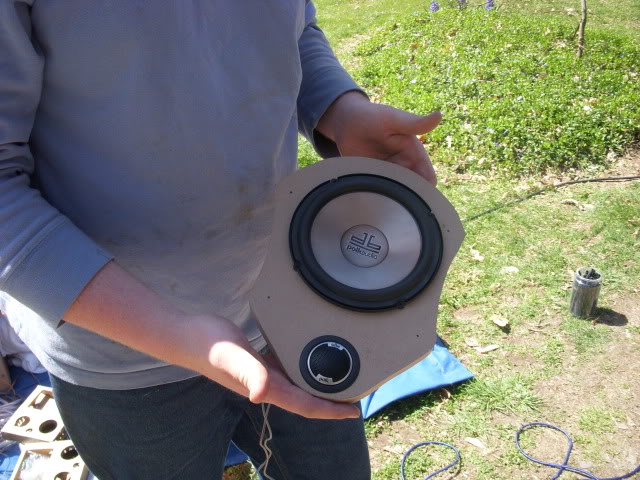
The audio in question

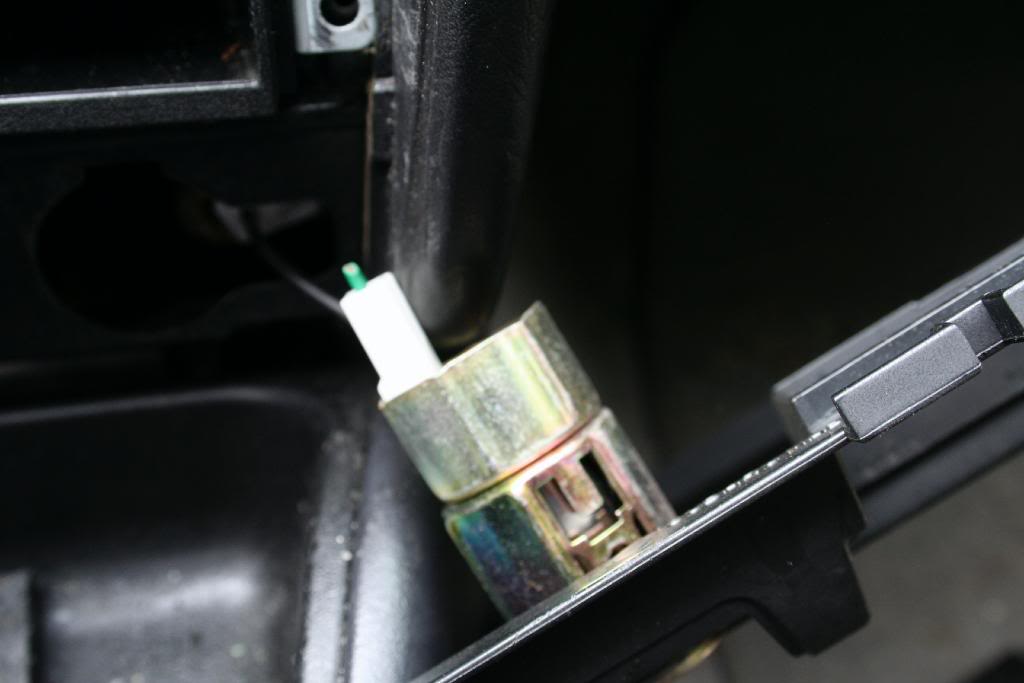
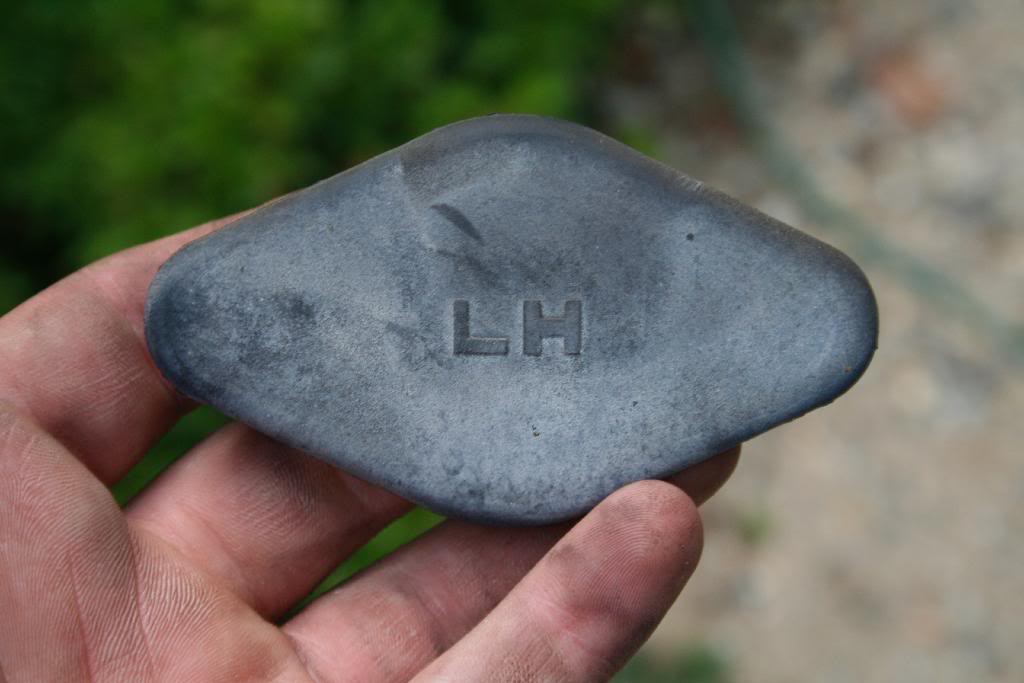
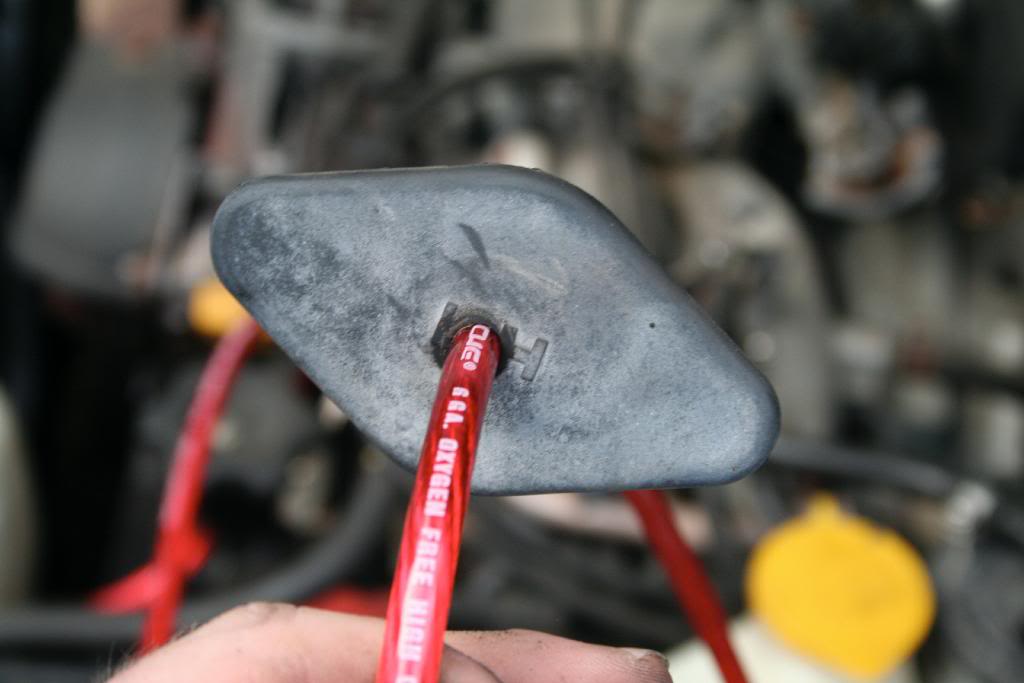
The first problem he cut the power outlet
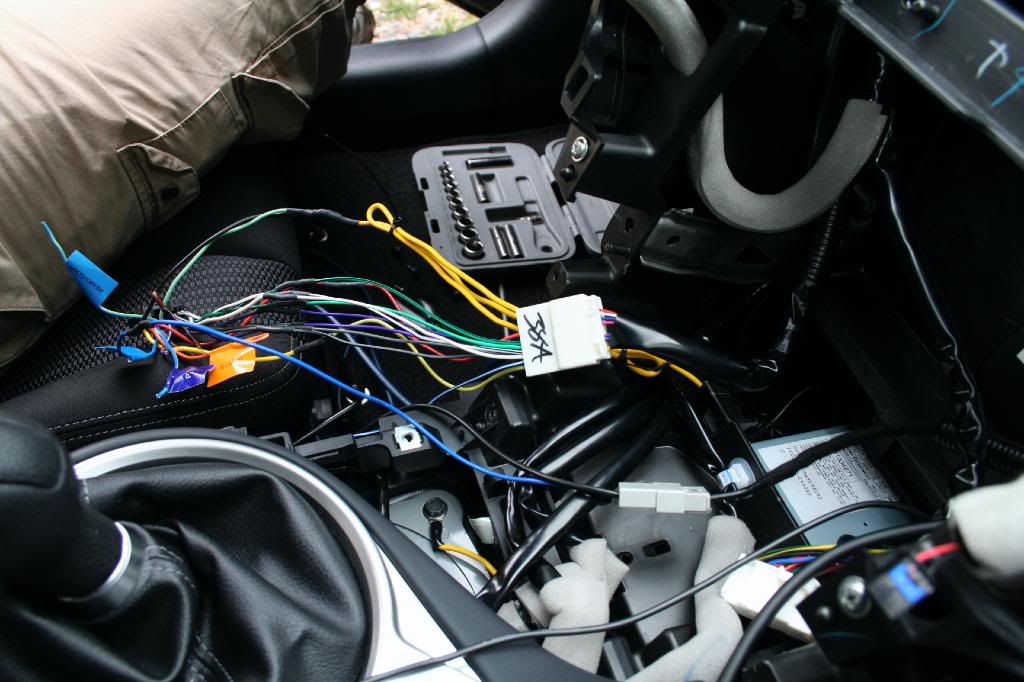
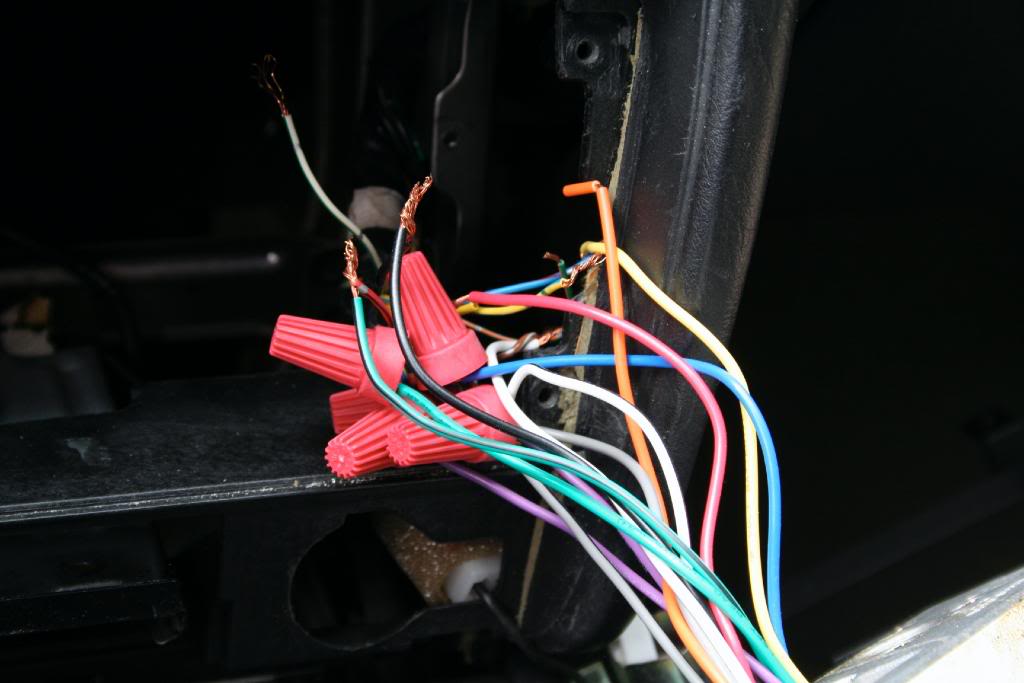
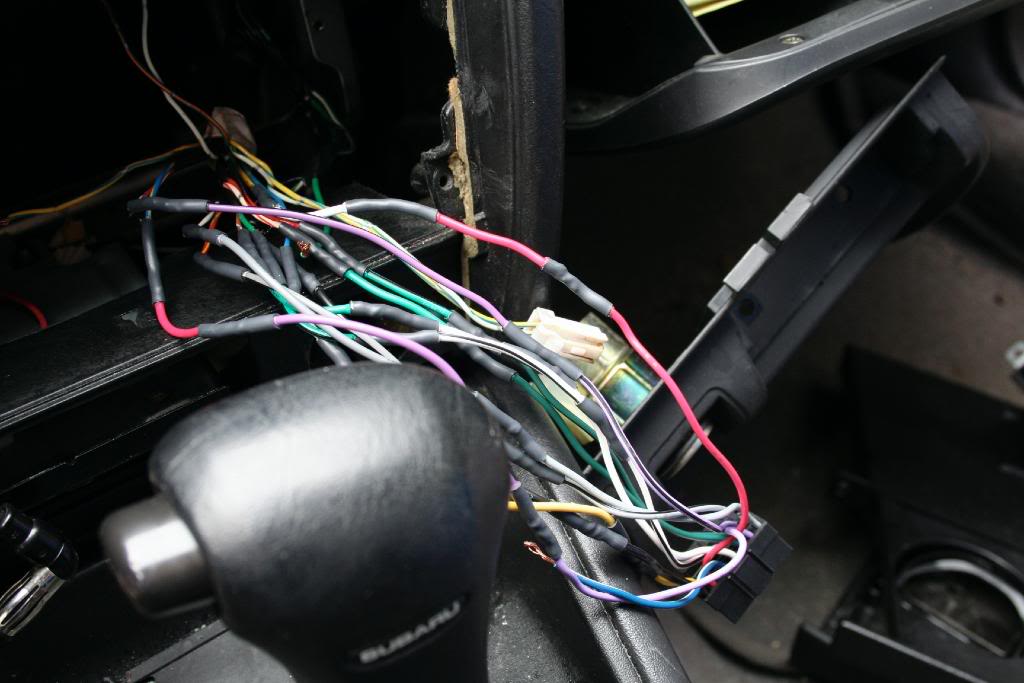
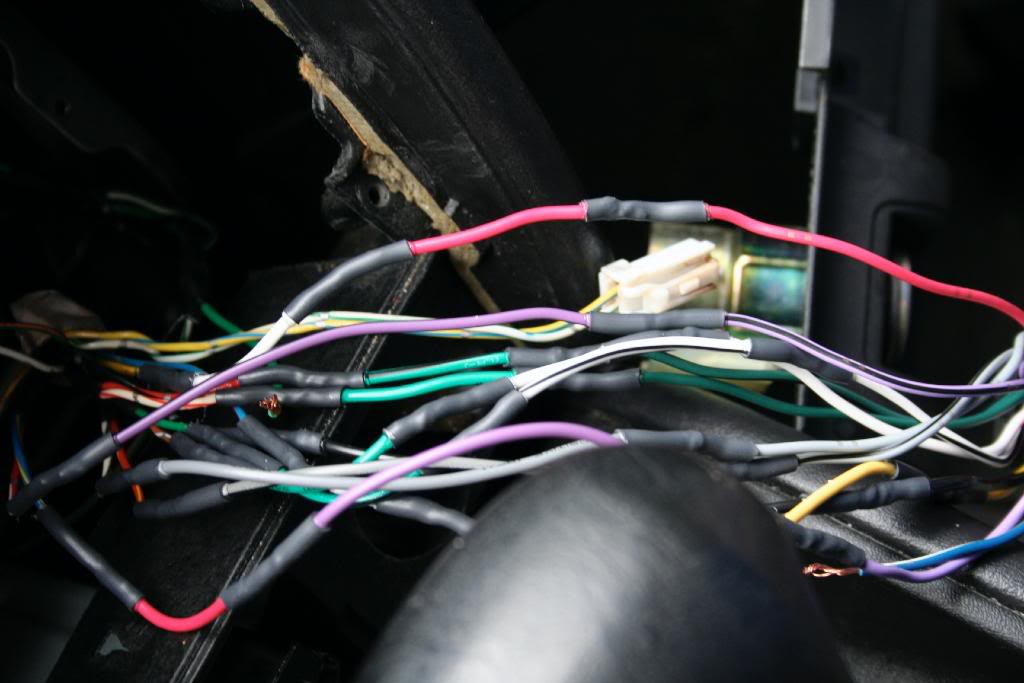
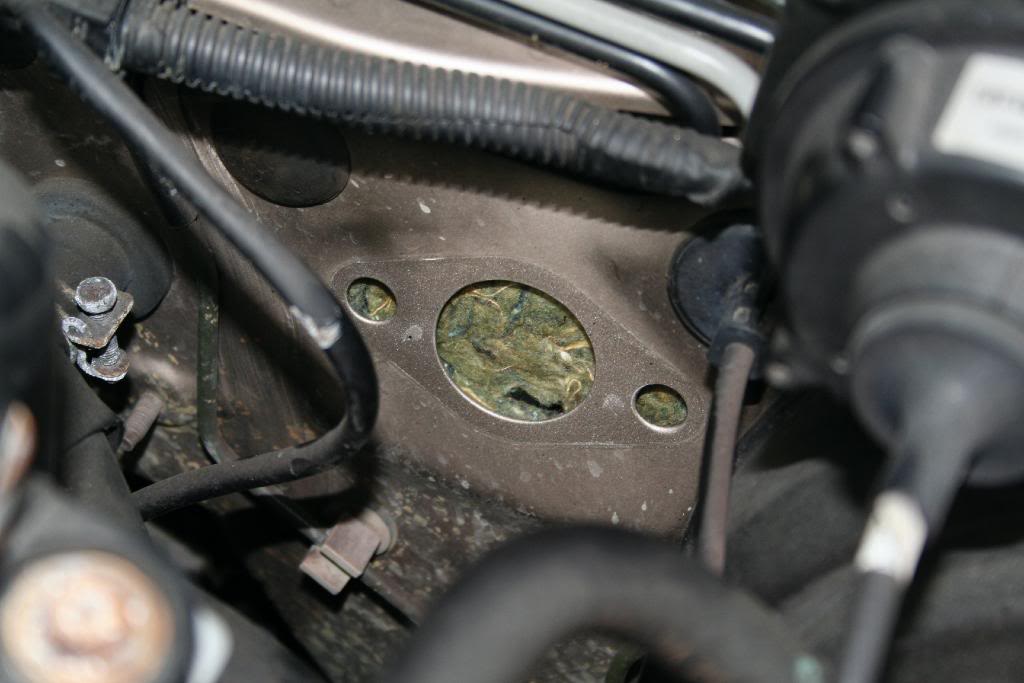
OMG LOOK AT THIS LOOK AT IT He cut off the factory harness and tried to put it back on:shakes head:
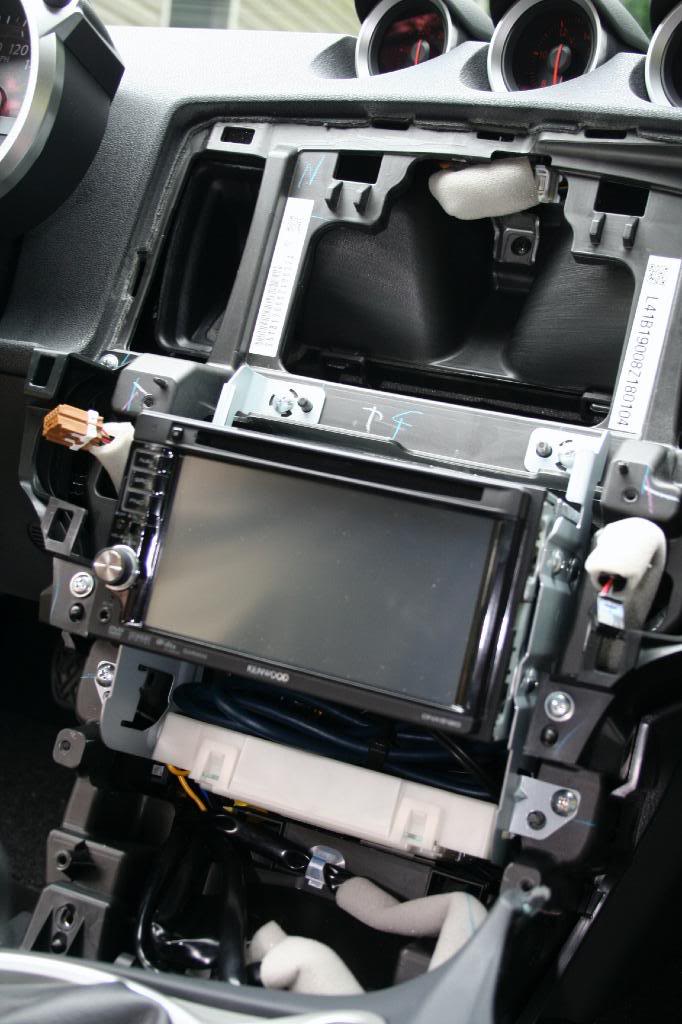
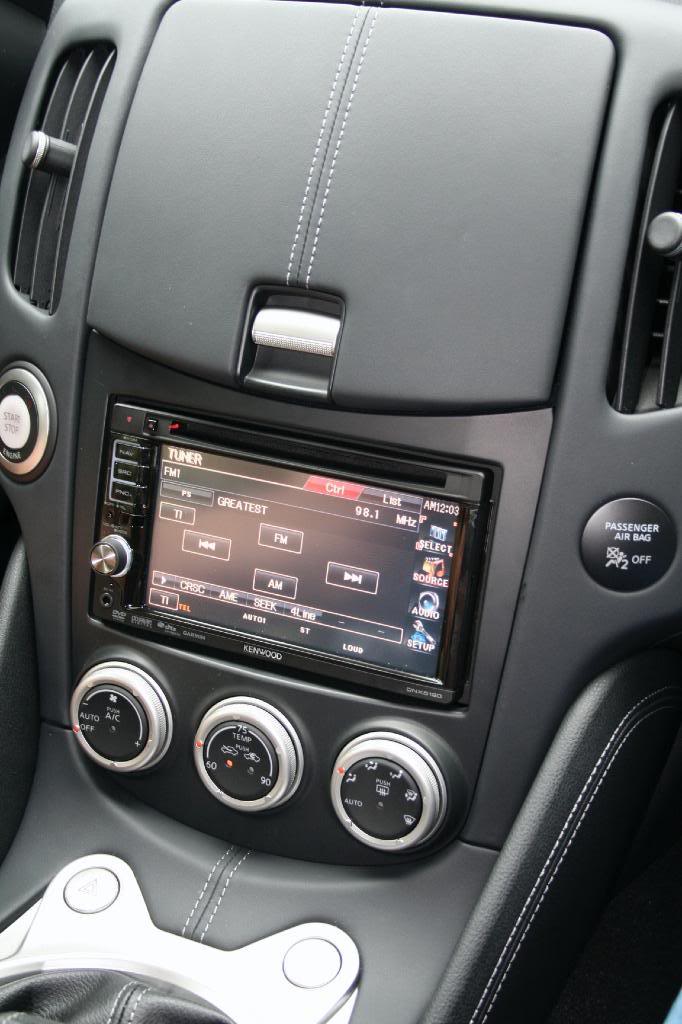
My work on it
The Goods
The Ride
The audio in question
The first problem he cut the power outlet
OMG LOOK AT THIS LOOK AT IT He cut off the factory harness and tried to put it back on:shakes head:
My work on it
#5
06-30-2010, 02:34 PM
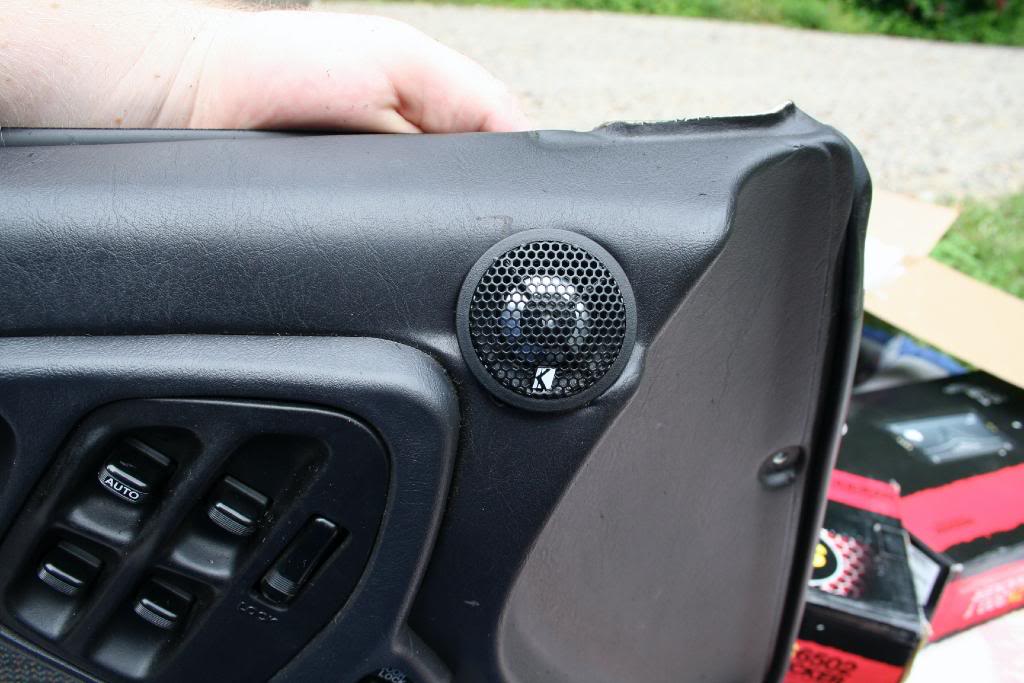
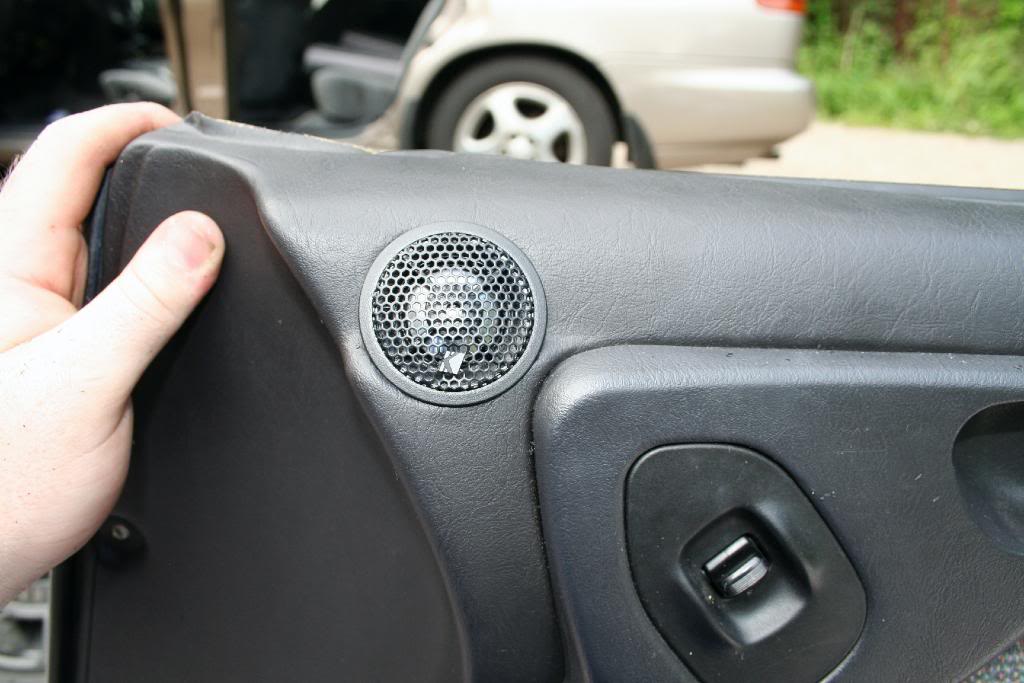
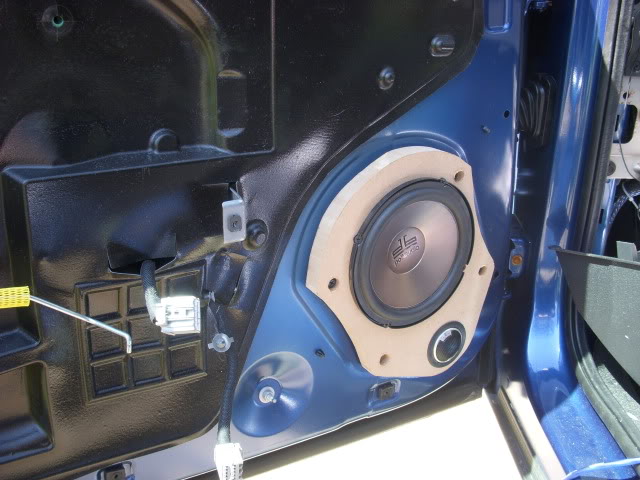
Mounting tweeters


Running power wire
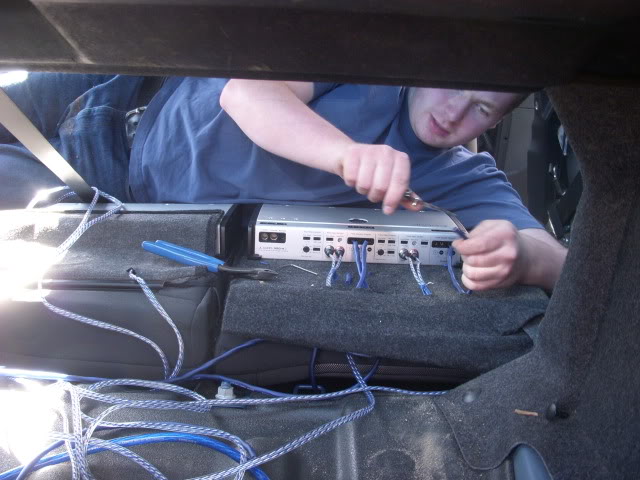
Amp mounted
Me
The JVC head unit he had did not work. Luckily I had a extra nice alpine head unit laying around sold it to him for a good price. IT HAS POWER

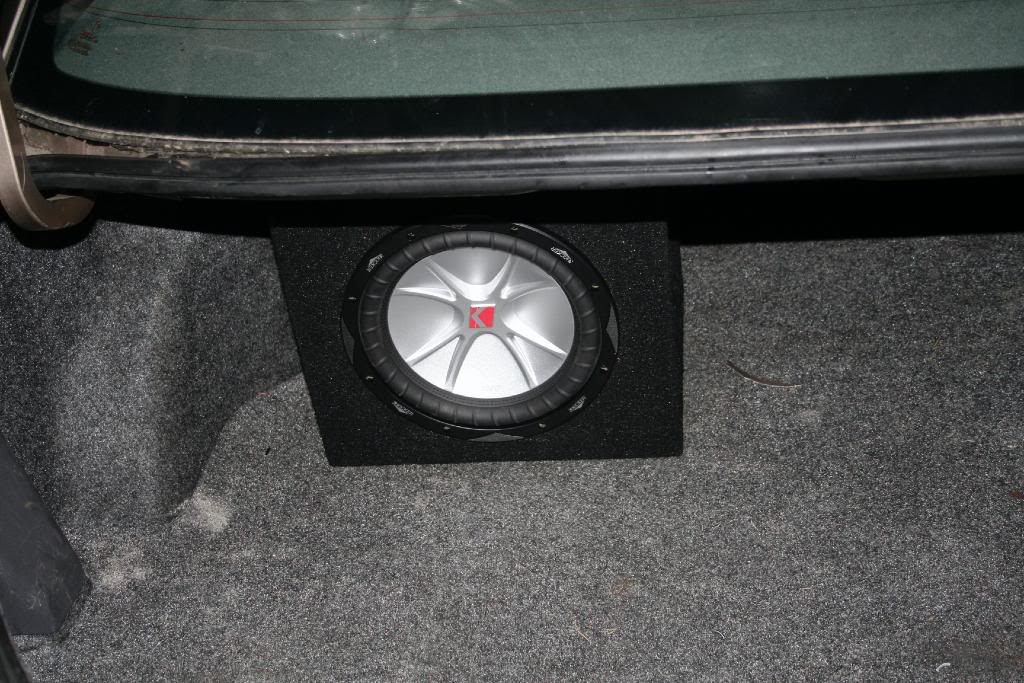
Sub all done
Running power wire
Amp mounted
Me
The JVC head unit he had did not work. Luckily I had a extra nice alpine head unit laying around sold it to him for a good price. IT HAS POWER
Sub all done
#6
06-30-2010, 02:35 PM
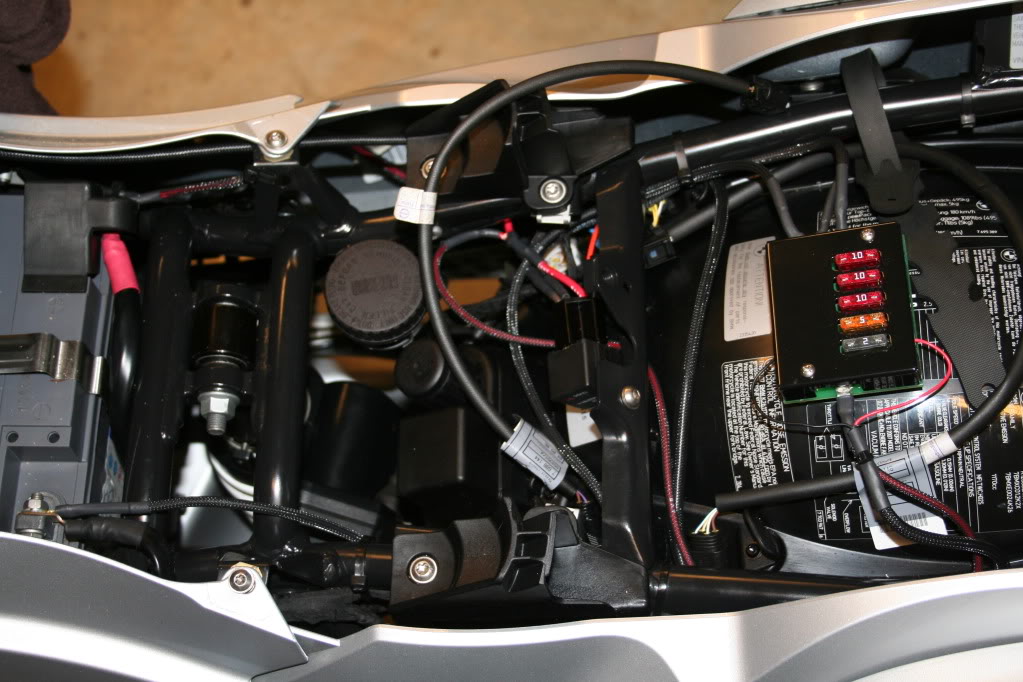
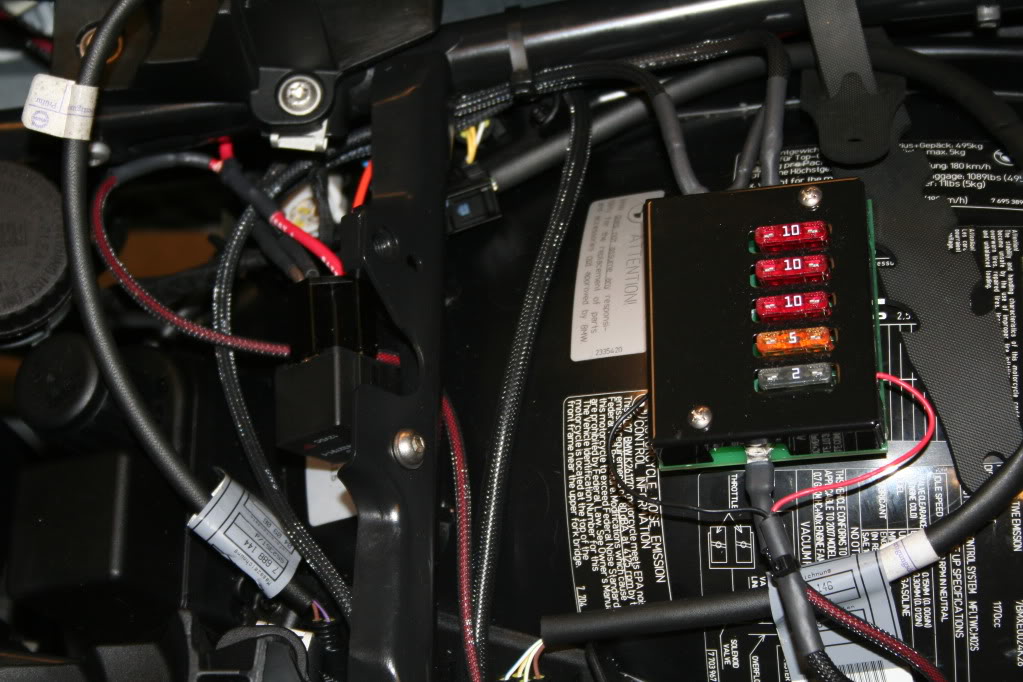
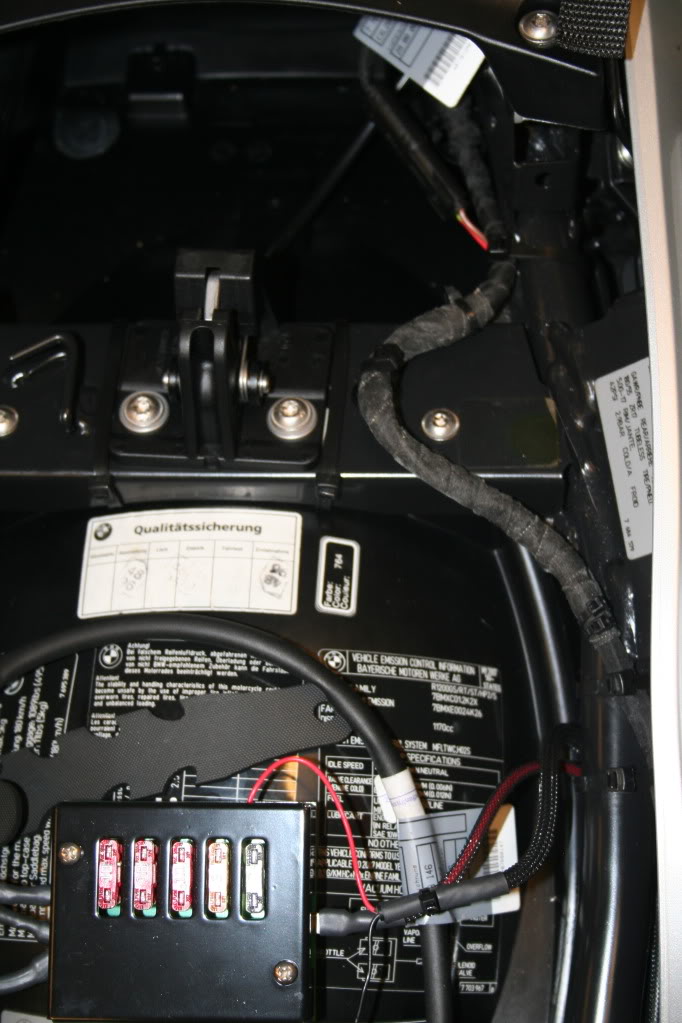
my dad owns a 2008 BMW R1200RT motorcycle and he hats the electronic controlled fuse system. If you over load the circuit that it is programed for than it shut power off to it BMW calls it cambus. So he wanted to be able to add whatever he wanted to the bike without worrying about that. So I installed an aftermarket fuse block that has both switched power and constant ones as well. Enjoy the pics!
#7
06-30-2010, 02:35 PM
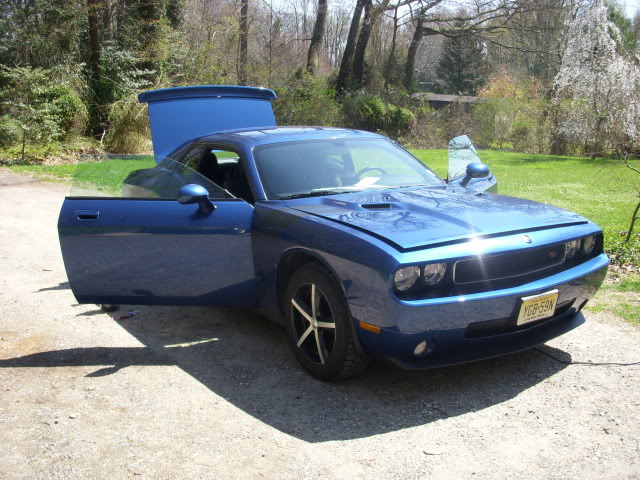
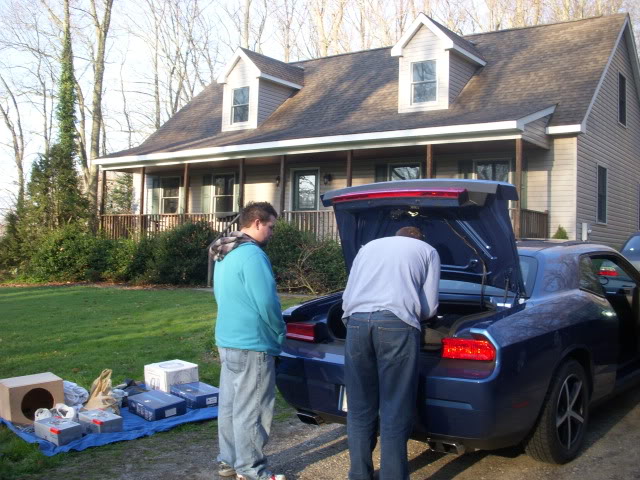
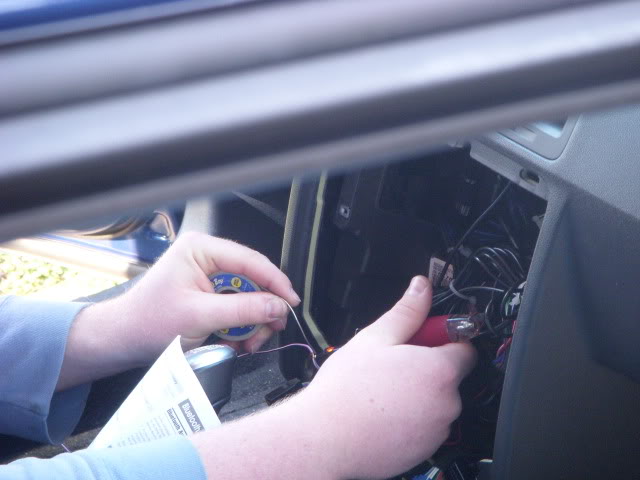
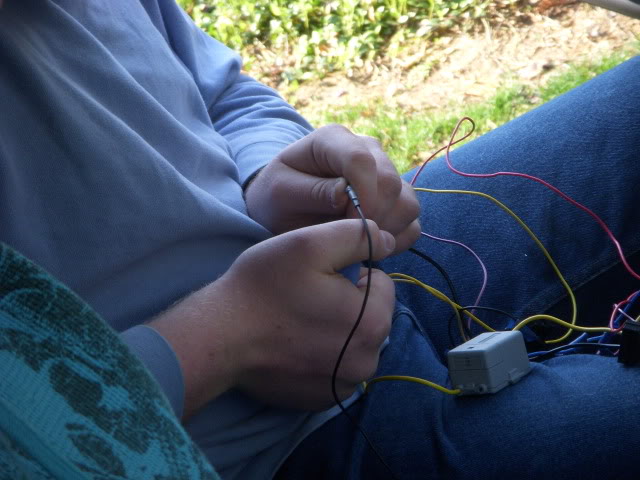
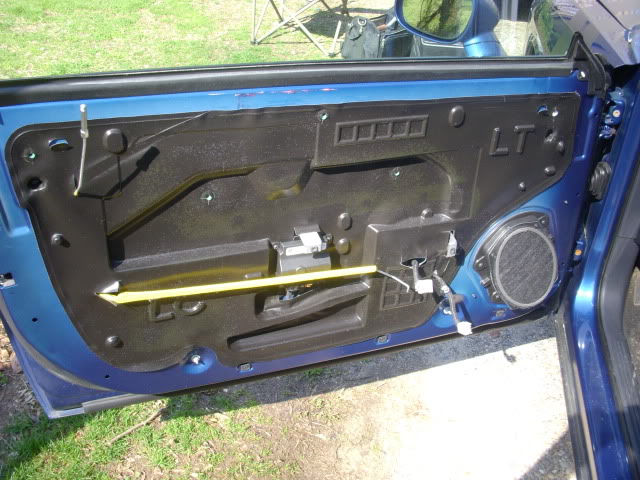
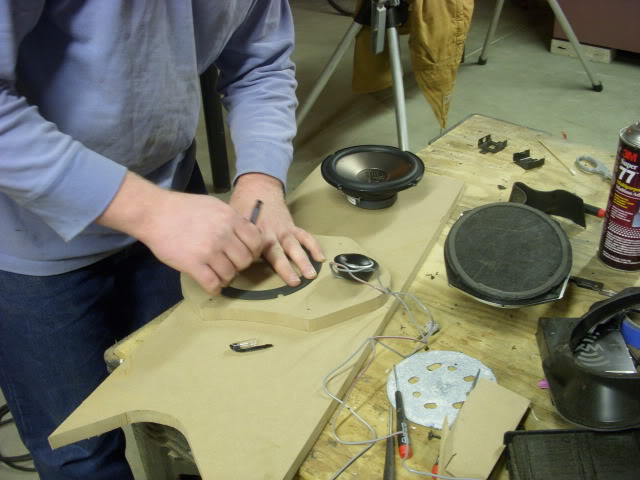
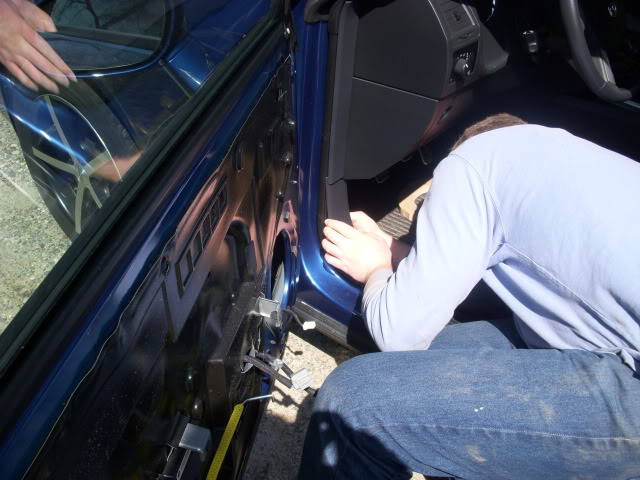
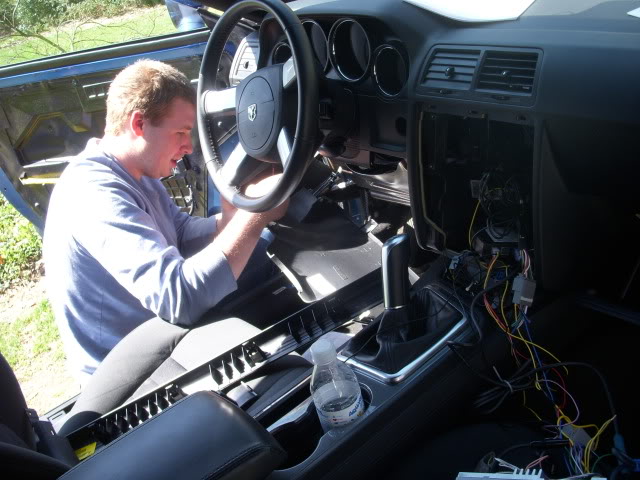
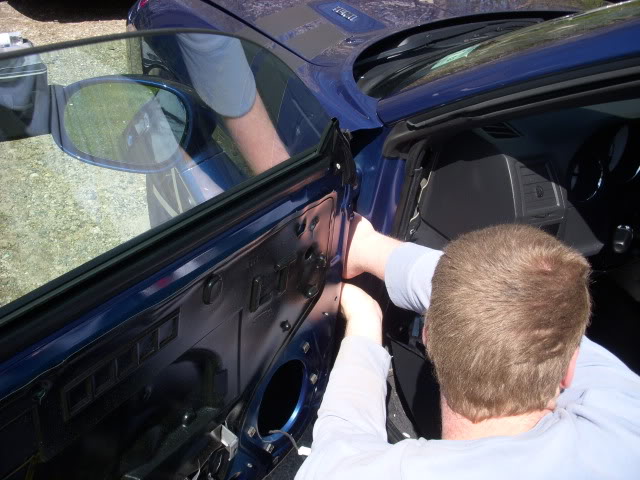
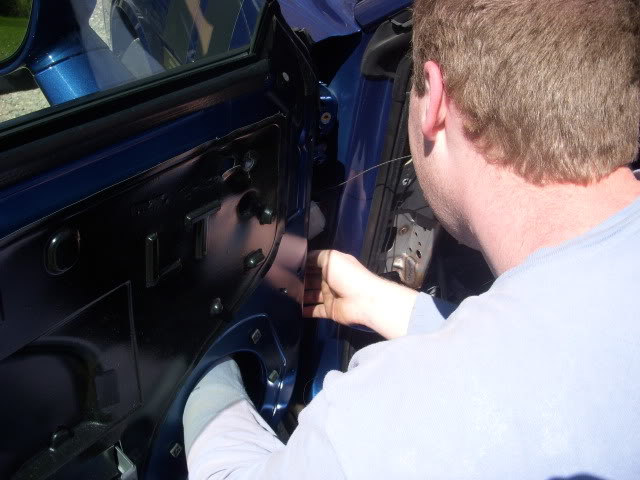
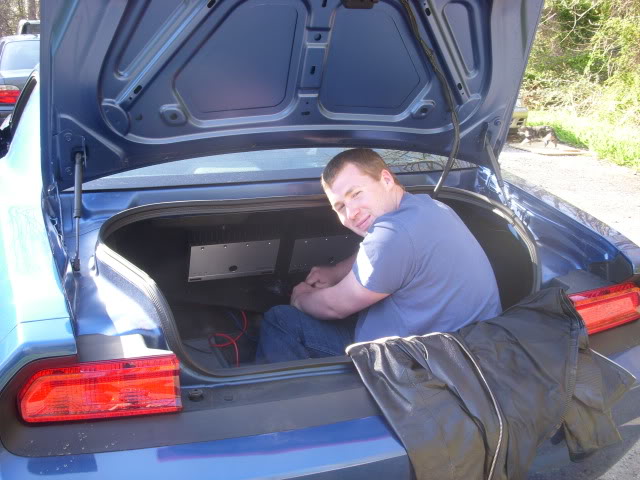
Yesterday did a 09 Dodge Challenger R/T Here are the pics.
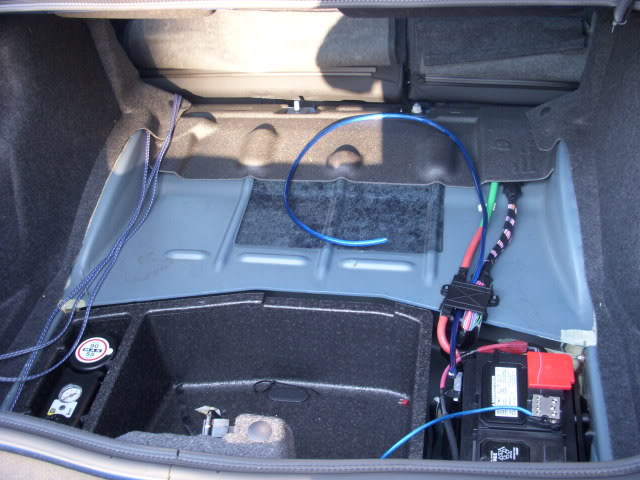
Rewired the head unit

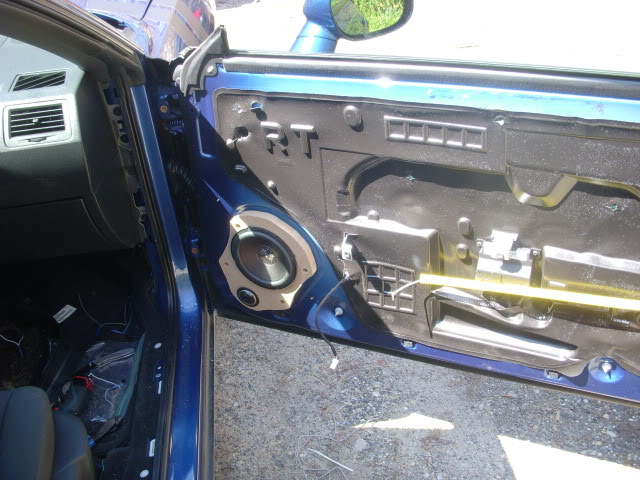
Doors off
Making brackets for new speakers

Rewired the head unit
Doors off
Making brackets for new speakers

#10
06-30-2010, 02:37 PM
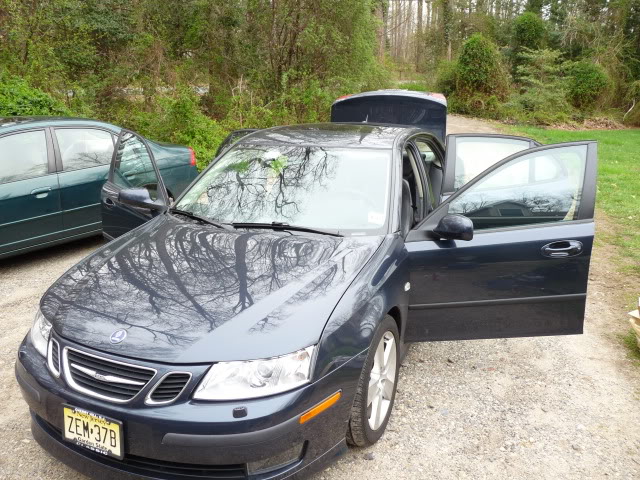
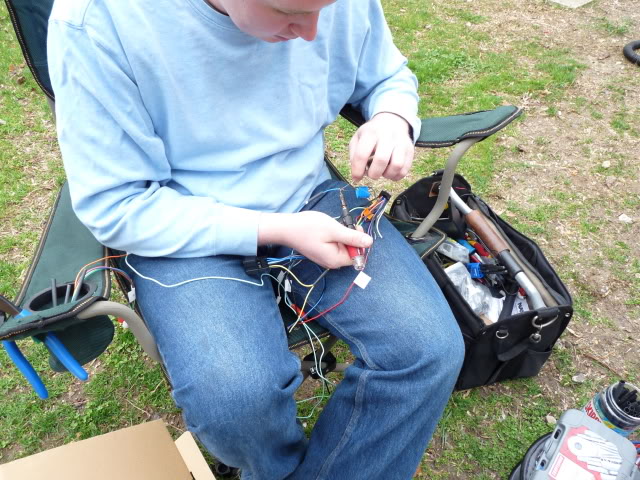
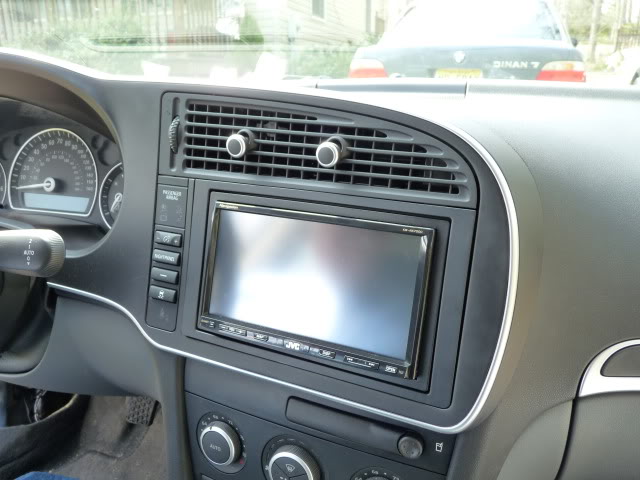
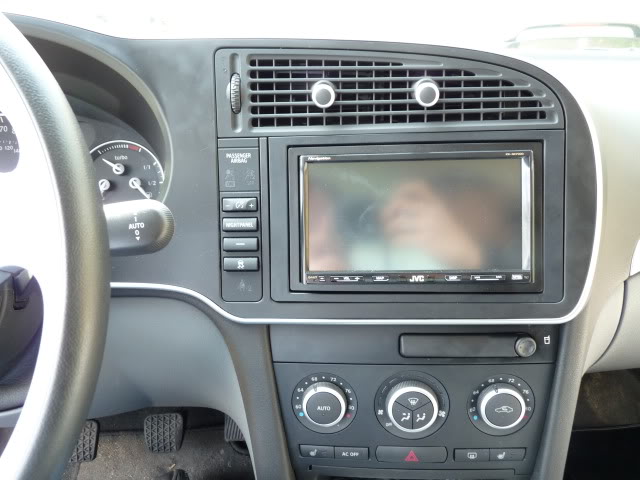
Yesterday did another install. This one was in a Saab 9-3 Aero.
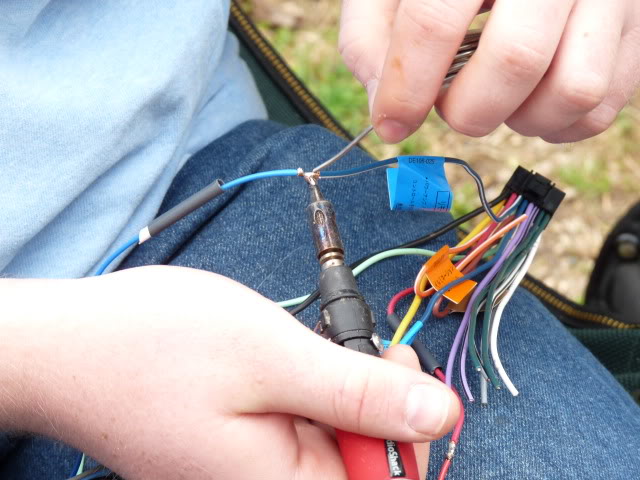
All wires soldered and heat shrunk.
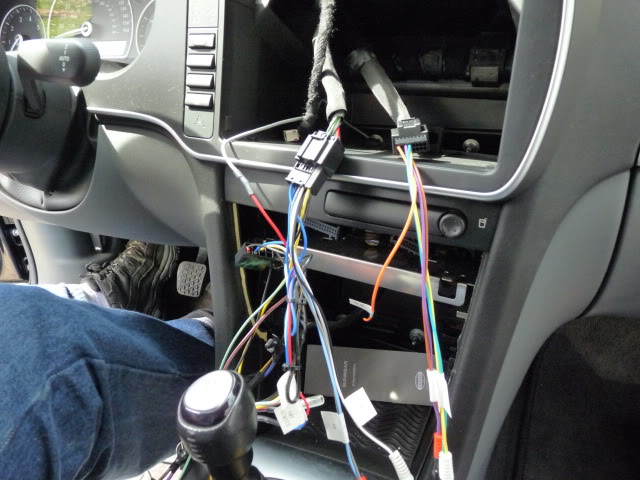
Dash apart
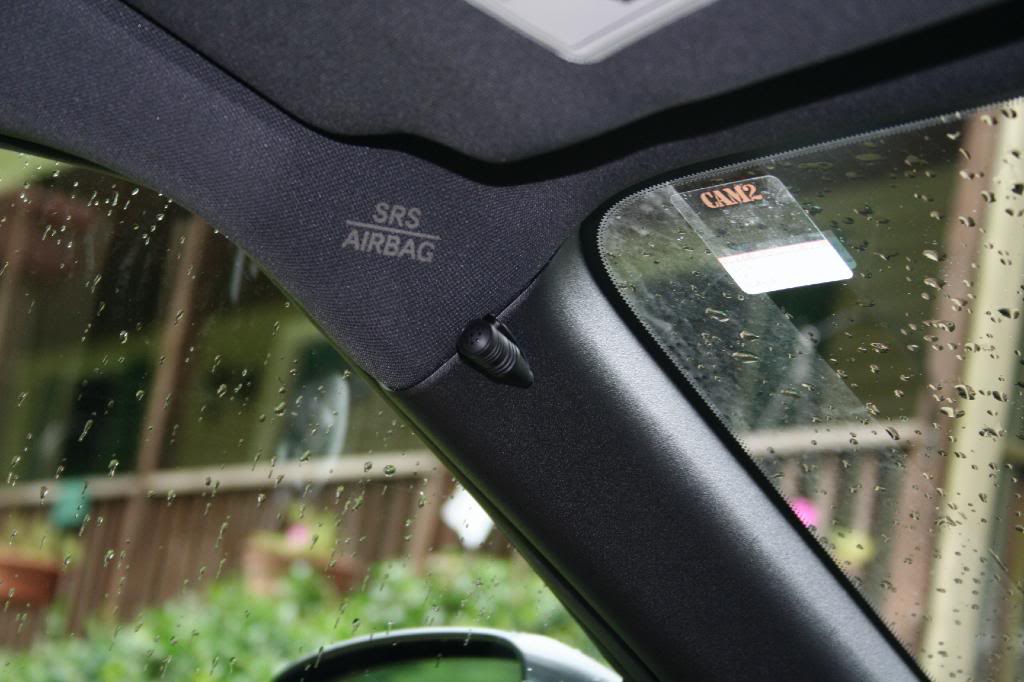
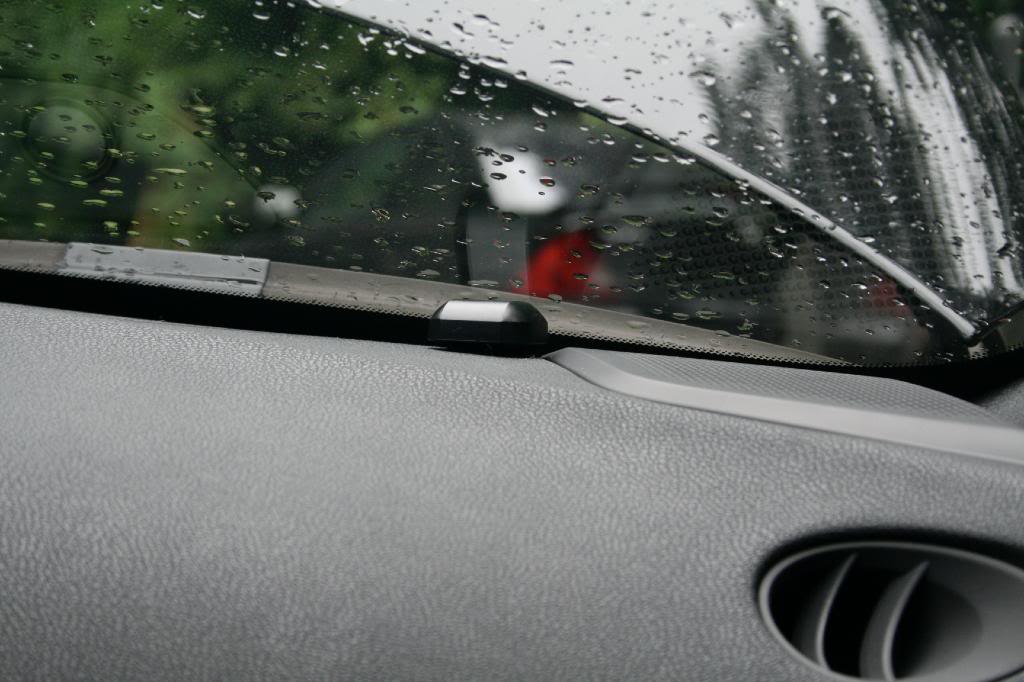
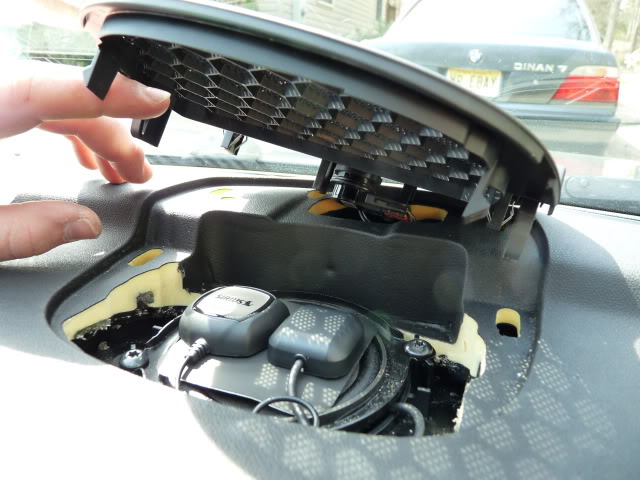
Hid the sirius and nav antenna under the top grill
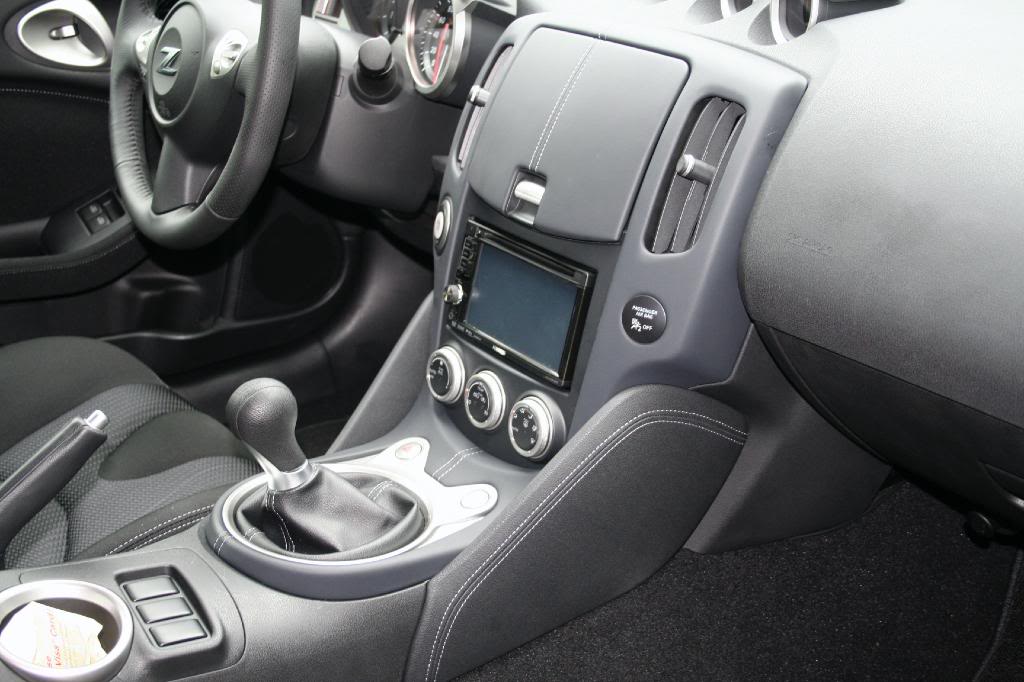
Dash back together.
All wires soldered and heat shrunk.
Dash apart
Hid the sirius and nav antenna under the top grill
Dash back together.

